
In This Guide Show
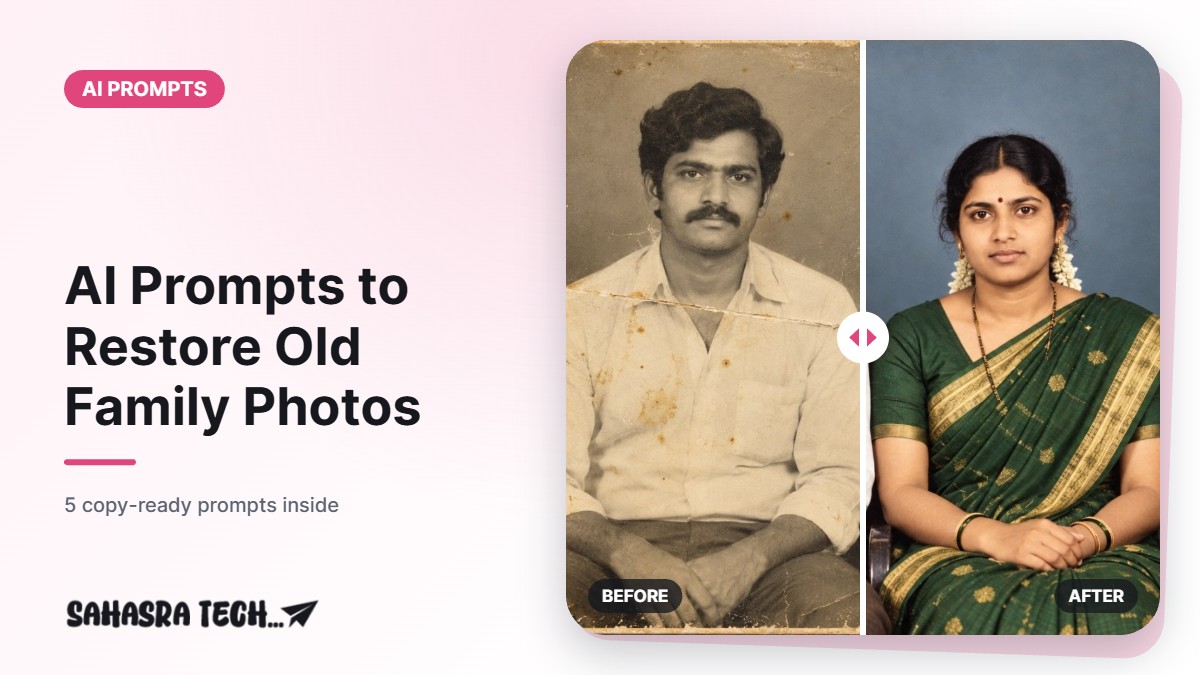
To restore an old, faded or scratched photo with AI, scan or photograph the print clearly, upload it to Gemini or ChatGPT, and paste a prompt that tells the tool exactly what to repair and what it must not change. The five prompts below cover scratch repair, colourising, sharpening, torn photos and a final print-ready pass. AI restoration is a careful guess, not a recovery of lost detail, so always keep the original.
Step 1: Capture the old photo properly
The quality of the restoration depends mostly on the file you upload.
- Scan if you can. A flatbed scanner or the scan mode in a phone scanning app gives a flat, even image.
- If you use the phone camera: place the photo on a plain surface near a window, switch off the flash, hold the phone parallel to the print and fill the frame with it.
- Avoid glare. If the photo is behind glass or in an album sleeve, take it out carefully, or tilt slightly until the reflection disappears.
- Do not use a WhatsApp-forwarded copy. Forwarded images are compressed. Ask the sender to share the original file as a document.
Step 2: Upload and paste a prompt
Open the Gemini app or ChatGPT, attach the photo, then paste one of the prompts below. Both tools accept photo uploads for editing, though free accounts normally have a daily image limit. Work in stages: repair first, colour later. One large prompt that asks for everything tends to change faces.
Prompt 1: Repair scratches, dust and fading
Restore this old photograph. Remove scratches, dust spots, creases, stains and fold lines. Correct the faded contrast and yellow colour cast so it looks like a clean print of the same photo. Keep every person's face, expression, hairstyle, clothing and the background exactly as they are. Do not add, remove or redraw any person or object. Do not beautify or smooth the skin. Keep the original framing and aspect ratio.


When to use: always start here. It is the safest prompt because it asks only for cleaning.
Prompt 2: Colourise a black-and-white photo
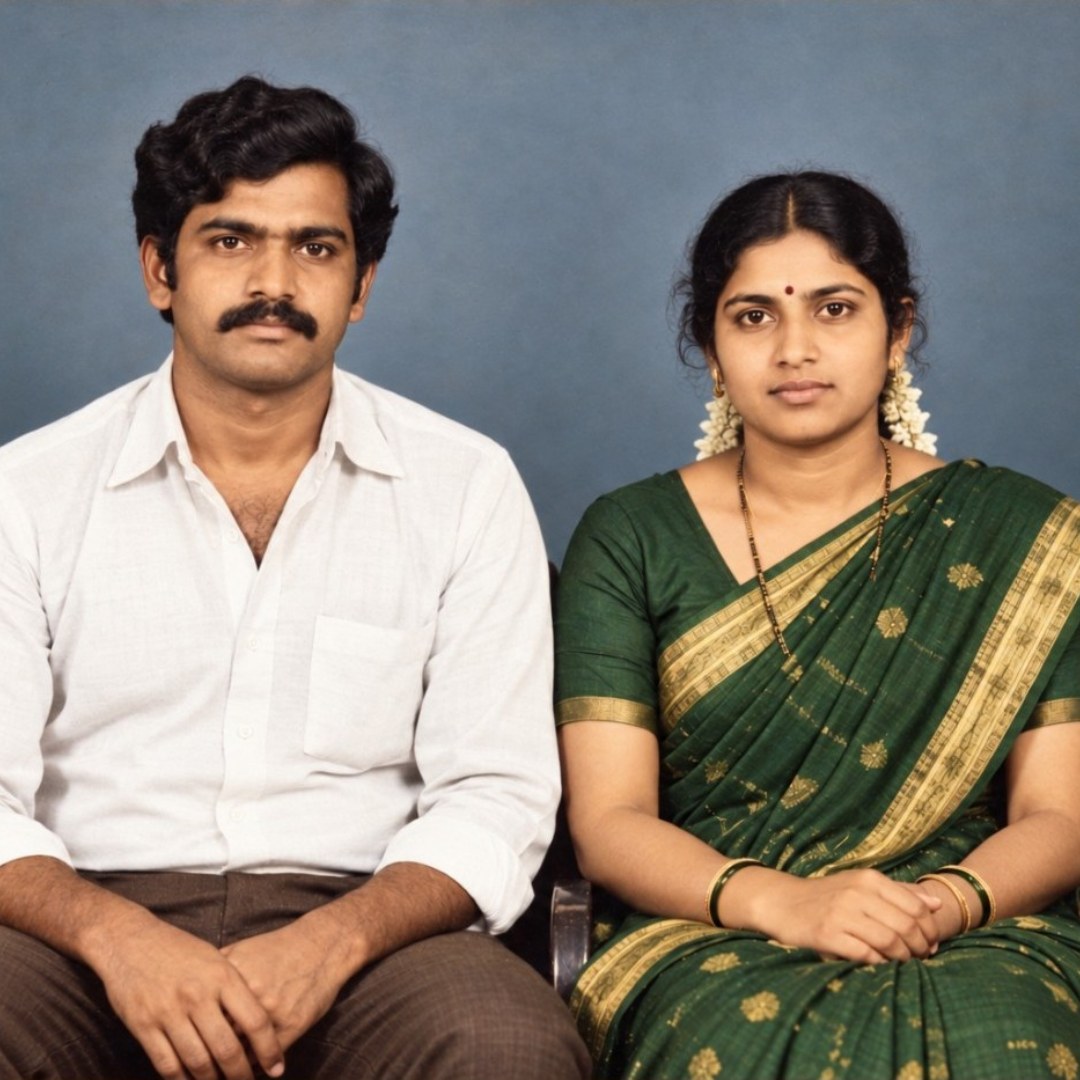
Colourise this black-and-white photograph with natural, realistic colours. Use skin tones suitable for Indian people, natural black or dark brown hair, and soft, period-appropriate colours for the clothes: [the saree is green with a gold border; the man's shirt is white]. Keep all faces, expressions and details exactly as in the original. Do not change the composition, do not sharpen faces artificially, and do not add modern objects. Slightly muted colours, like a well-kept colour print from that time.
What to change: the text in square brackets. If a family member remembers the real colour of a saree, a wall or a vehicle, write it in. If you do not know, delete that line and accept that the colours are the tool’s guess.
Prompt 3: Sharpen a blurry face carefully
Improve the clarity of this photograph. Reduce blur and grain and recover fine detail in the faces, eyes and hair, but keep each face true to the original: same face shape, same eyes, nose, lips, same age and expression. Do not make anyone look younger, fairer or slimmer. Keep natural skin texture. If a detail is not visible in the original, leave it soft rather than inventing it.
Important: this is where AI tools most often go wrong. When the original face is only a few pixels wide, the tool draws a new, sharp face that is plausible but not the real person. Compare with the original, and ask someone who knew the person whether it still looks like them.
Prompt 4: Fix a torn or missing corner
This photograph has a torn [top-left corner] and a crack running across the middle. Rebuild only the damaged areas by continuing the surrounding background, wall, clothing and floor naturally. Do not alter any undamaged part of the photo. If part of a face is missing, reconstruct it conservatively to match the visible half and keep it slightly soft. Keep the original colours and framing.
Prompt 5: Final pass for printing
Take this restored photograph and prepare it for printing. Keep the content exactly the same. Balance brightness and contrast gently, keep natural colours, remove any remaining small spots, and output at the highest resolution available in a [4:6] aspect ratio without cropping any person. No borders, no text, no watermark.
Before you print a large size, zoom in on the file. AI images that look good on a phone screen can look soft or plastic on a 12×18 print. A small test print is cheaper than a wasted frame.
Common mistakes to avoid
- Trusting the first result. Generate two or three versions and pick the one closest to the original, not the one that looks most polished.
- Stacking edits. Each time you re-upload an AI result and edit again, the face drifts a little further. Go back to the original scan whenever possible.
- Letting the tool beautify. Words like “enhance” or “make it beautiful” invite smooth skin and changed features. Use “restore”, “repair” and “keep unchanged”.
- Throwing away the print. The physical photo and the first scan are the real record. Store both safely.
- Using restored photos for documents. An AI-edited image is not suitable for official identity or legal use.
Privacy: think before you upload
Old family photos include people who cannot give permission. Upload only what your family is comfortable with, and check the data and privacy settings of the tool you use. For very personal photos, an offline photo editor on your own computer is the more private choice, even if it takes longer.
Once the photos are restored, keep them backed up. Our guide on freeing up Google Photos storage helps if your account is already full, and how to write better AI prompts explains how to word corrections when a result is not right.
FAQ
Can AI really restore an old damaged photo?
It can remove scratches, stains and fading well. Where detail is missing, such as a very blurry face or a torn area, the tool fills it with a guess, so the result may not match the real person exactly.
Which is better for photo restoration, Gemini or ChatGPT?
Both can do it and results differ from photo to photo. Try the same prompt in both and keep the version that stays closest to the original.
Why did the face change after restoration?
The original face was probably too small or blurry, or the prompt used words like enhance or beautify. Rescan the photo at higher quality and use a prompt that says to keep facial features unchanged.
Are the colours in a colourised photo accurate?
No. The tool guesses colours unless you tell it. Add known details, such as the colour of a saree or wall, to the prompt for a more faithful result.
Can I print an AI-restored photo?
Yes, but zoom in and check the faces first, and make a small test print before ordering a large size.
1 thought on “AI Prompts to Restore Old Family Photos”